
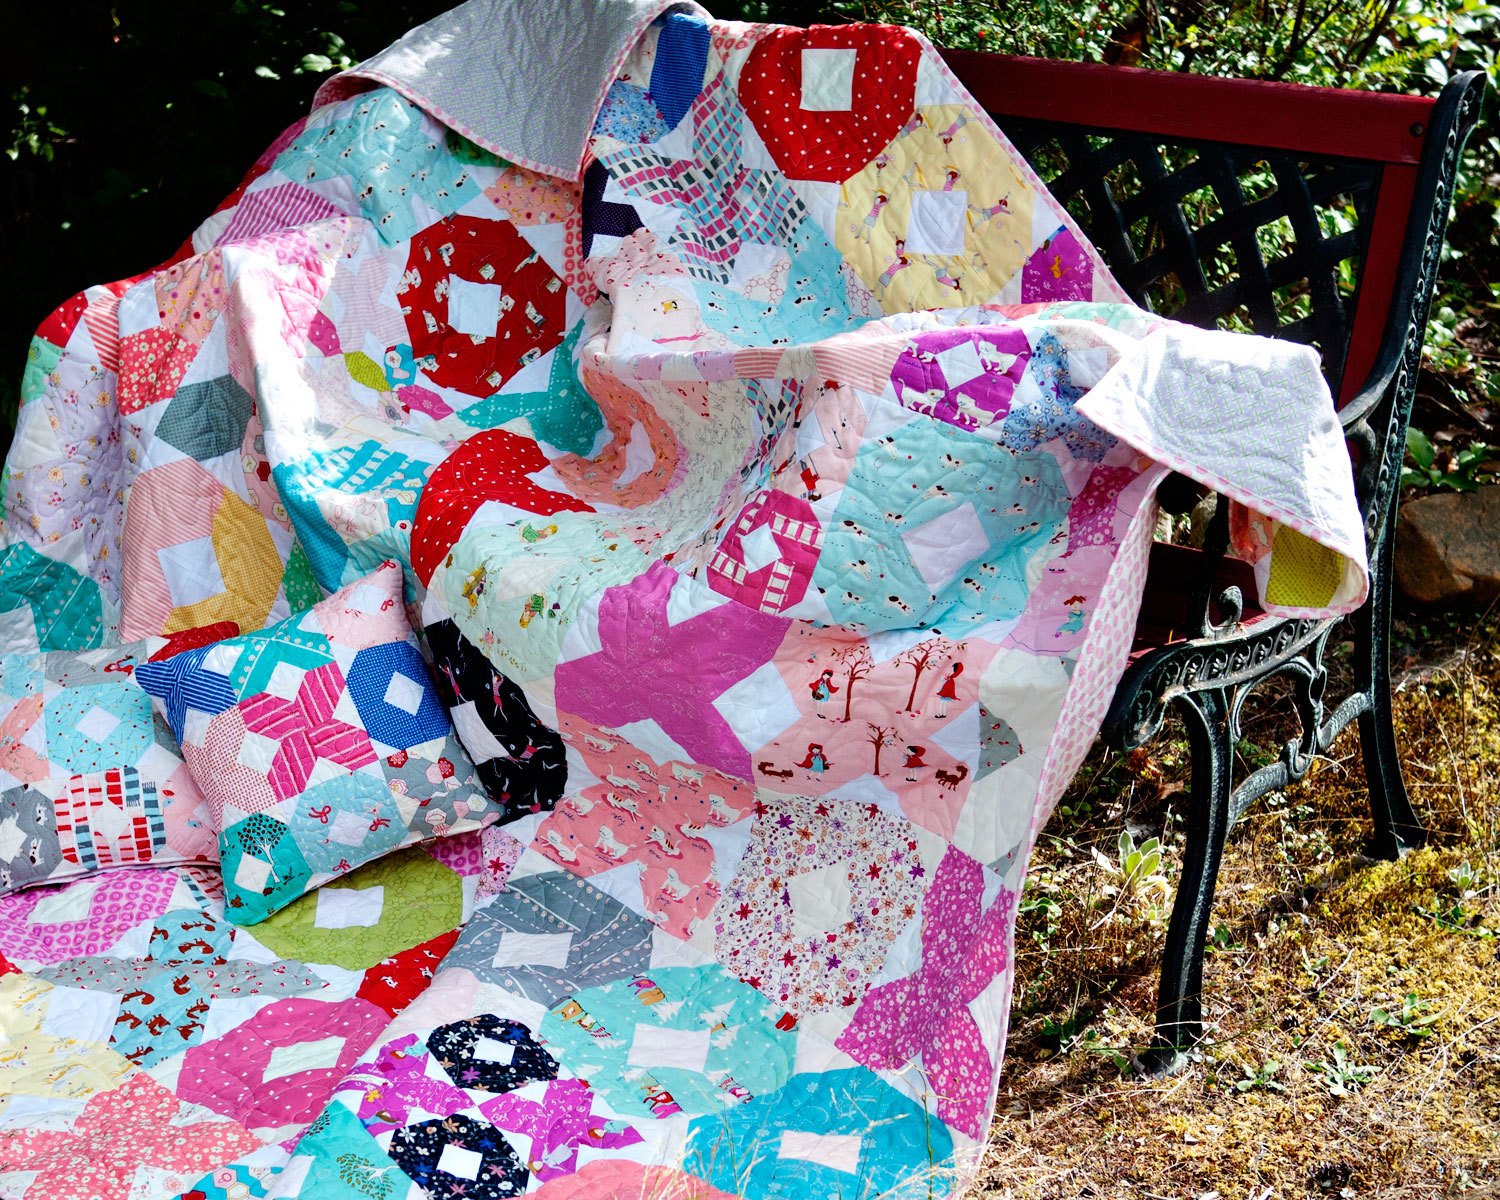
It's done! Thank you so much to everyone who contributed blocks. I still can't believe my spur of the moment idea turned into a quilt!!!!!

And as you can see a couple of cushions for Aneela's daughters. There are so many blocks left over, I really am in awe of everyone's generosity. They will all be stitched up into quilts for our local hospitals, who do their best to give all patients in oncology and all the premies a quilt to make their stay a little happier.
I really feel with this I just had an idea, but that my fellow quilters actually did the heavy lifting, so thank you so much to:
Nadra in Germany - Brandy in SC - Alexandra in Germany - Rebecca in Australia - Meg in OH - Yvette in OH - Susan in CA - Mary Ann in CA - Eileen in CA - Greg in NY - Kim in VA - Melissa in KS - Lizzie in Sweden - Debbie in AL - Tammy in PA - Suzanne in NSW - Amy in AUS - Adrianne in NZ - Celine in UK - Marika in QC - Georgia in NSW - Lani in WA - Katy in ON - Pam in BC - Hannah in UK - Marily in MO - Nicola in the UK - Anita in AB - Kathy in CA - Petra in VA - Agnieszua in Poland - Trisch in NE - Susanne in CO - Jaime in OR - Jennifer in AUS - Stephanie in CO - Renata in Brazil - Svetlana in IL - Joanne in UK - Libby in LA - Jenny in AUS - Sylvia in AUS - Kerry in ME - Rachel in NZ - Fitri in MO - Patti in SK - Leanne in Aus - Carolyn in FL - Sigrun in Norway - Lara in NZ - Heather in BC - Angela in TX - Nicolette in the Netherlands - Patricia in CO - Monica in CA - Pam in CA - Stephanie in ID - Natalie in CA - Cindy in WA - Stephanie in OH - Jeni in WI - Charise in WA - Lauren in NC - Daniela in NJ - Sarah in TX - Lee in the USA - Alyce in Japan - Karen in Aus - Gwen in TX - Kimberlee in IL - Lisa in NY - Ortiz in AZ - Jackie in FL - Sarah in CO - Catherine in Aus - Julia in Germany - Judy in Aus - Taryn in TX - Lisa in OR - Suzanne in PA- Marci in LA - Mary in MN - Kylie in AUS - K Lee in ID - Jenny in TN - Lisa in MN - Donna in ON - Francine in ON - Kerry in UK - Farah in Malaysia - Kristie in CA - Mary in MN - Charity in MN - Muriel in the Netherlands - Grace in NZ - Debbie in WA - Krista in BC - Jessica in NJ - Pam in WA- Diane in CA - Lorena in Aus - Silvana in Brazil - Jeannie in FL - Amy in MA - Mariana in Spain - Carol in Scotland - Caroline in OR - Emma in UK - Gabrielle in CA - Tracy in UK - Patricia in Germany - Jenea in CA - Courtney in USA - Lotje in the Netherlands
I do have some more envelopes without names or with only initials. If you sent blocks and are missing from the list, please let me know!
much love
Chelsea


